Welcome to the sixth lesson of the “Computer Essentials: Digital Literacy” course. In this pivotal stage of our journey, we transition from architectural theory to daily practical application. This Essential PC Quick Guide is designed to provide you with the operational skills necessary to master the Windows environment, manage applications, and understand critical data management processes such as formatting and file systems.
As a Senior Technical Educator, my goal today is to transform your interaction with the computer from intuitive to professional. We won’t just “click” on things; we will understand the why behind every operation.
Mastering a personal computer requires knowledge of three fundamental pillars: functional aesthetics (personalization), process control (app and hardware management), and data integrity (memory management). In this lesson, we will explore how to turn your PC into an efficient and secure tool.
1. Workspace Personalization: Aesthetics and Ergonomics
The Desktop is more than just a background; it is your digital workspace. The ability to personalize it is not merely about aesthetic taste; it improves visual ergonomics and reduces fatigue during prolonged use.
The Personalize Panel
By right-clicking on an empty area of the desktop and selecting Personalize, you enter the heart of Windows’ visual configuration. Here, we find several key subsections:
- Background: You can choose between a static image, a solid color, or a slideshow that draws from your personal folders.
- Themes: A theme is a coordinated package that includes a background, window colors, system sounds, and sometimes mouse cursors. Using a consistent theme helps maintain a harmonious interface.
- Colors: Here, you can activate “Light” or “Dark” mode. The latter is highly recommended for those working in low-light environments to reduce visual stress. You can also choose an “Accent color” that will be applied to the Start menu, taskbar, and notification center.
Lock Screen and Screen Saver
The Lock Screen is the first image we see upon startup or when waking the PC. Here, we can configure the Screen Saver. Historically, screen savers protected old CRT monitors from “burn-in” (ghost images), while today they serve a primarily aesthetic or security function (hiding screen content during inactivity). You can set an activation timer and require a password upon resume to protect your data.


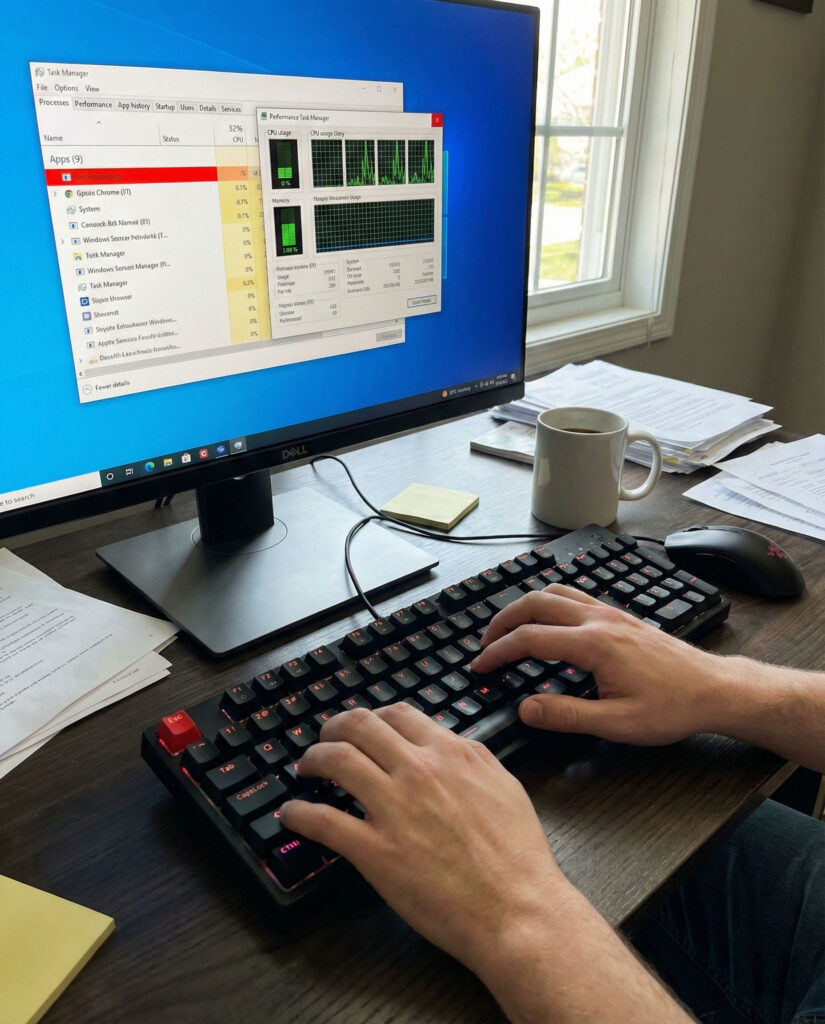
2. Process Management: The Task Manager
In the daily life of a computer user, an application may occasionally stop responding (the classic “frozen program”). In these cases, forcing the application to close is often the only solution to avoid restarting the entire system.
Task Manager
To access this tool, you can search for “Task Manager” in the Start menu or use the shortcut Ctrl + Shift + Esc.
- End Task: By selecting an app in the “Not Responding” state and clicking End task, the operating system immediately terminates the process, freeing up the RAM occupied by the malfunctioning software.
- Resource Monitoring: Task Manager also allows you to see how much CPU or RAM a program is consuming, helping you identify software that is slowing down your computer.

3. Software Lifecycle: Installation and Removal
Understanding how to add or remove programs is essential for keeping your PC clean and high-performing.
Installing Programs
Software can be downloaded from the web or installed via the Microsoft Store.
- Setup Files: Generally, Windows programs are distributed as executable files with .exe or .msi extensions. Common names include
setup.exeorinstall.exe. - Administrator Privileges: To install software that modifies system files, Windows will request authorization from the administrator (UAC – User Account Control). Without these permissions, many installations will fail for security reasons.
Correct Uninstallation
You should never simply delete a program’s folder from the hard drive. This leaves “residue” in the system registry, which can slow down the PC over time.
- Procedure: You must access Control Panel > Programs > Uninstall a program (or Settings > Apps). Here, Windows will launch the specific removal script that deletes all related files and cleans up system configurations.


4. Hardware Connectivity: Plug and Play and Safe Removal
Computers interact with the outside world through USB ports. Whether it is a flash drive, a camera, or an external hard drive, management must be precise.
The USB Protocol
When you connect a device, Windows recognizes it automatically thanks to drivers. The device will appear as a new drive in “This PC,” and a small icon will appear in the notification area (near the clock).
Safely Remove Hardware: Why is it Critical?
Many users tend to unplug devices physically without notifying the system. This is a serious mistake due to Write Caching. The operating system often “delays” the actual writing of data to optimize performance. If you pull the cable while Windows is still finishing the write operation (even if the progress bar looks finished), you risk corrupting files or damaging the device’s file system.
- Procedure: Click the flash drive icon in the notification area and select “Safely Remove Hardware and Eject Media.” Only when the message “Safe to Remove Hardware” appears should you physically disconnect the device.


5. Capturing Information: Screenshots and Snipping Tool
Saving what you see on the screen is one of the most common operations, useful for creating guides, reporting errors, or keeping online receipts.
Keyboard Shortcuts
- PrtScn (Print Screen): Copies the entire screen to the clipboard (to be pasted into Word or Paint).
- Alt + PrtScn: Captures only the currently active window.
- Win + PrtScn: Captures the entire screen and automatically saves it as an image file in the
Pictures > Screenshotsfolder.
Snipping Tool
For greater precision, Windows offers the Snipping Tool app. This allows you to select a specific portion of the screen (rectangular or free-form) and add annotations or highlights before saving the file.


6. Deep Memory Management: Formatting and File Systems
We now enter a more technical but vital area for anyone wishing to become an expert user. How you manage data storage defines your PC’s reliability.
Formatting and Partitioning
- Formatting: This is the process of preparing a disk (or flash drive) for data storage. It erases all existing data and creates a new logical structure. It is performed to clean a disk of viruses, change operating systems, or resolve serious logical errors.
- Partitioning: This involves dividing a single physical disk into multiple “logical units” (e.g., Drive C: and Drive D:). This allows you to separate the operating system from personal data, making backups easier.
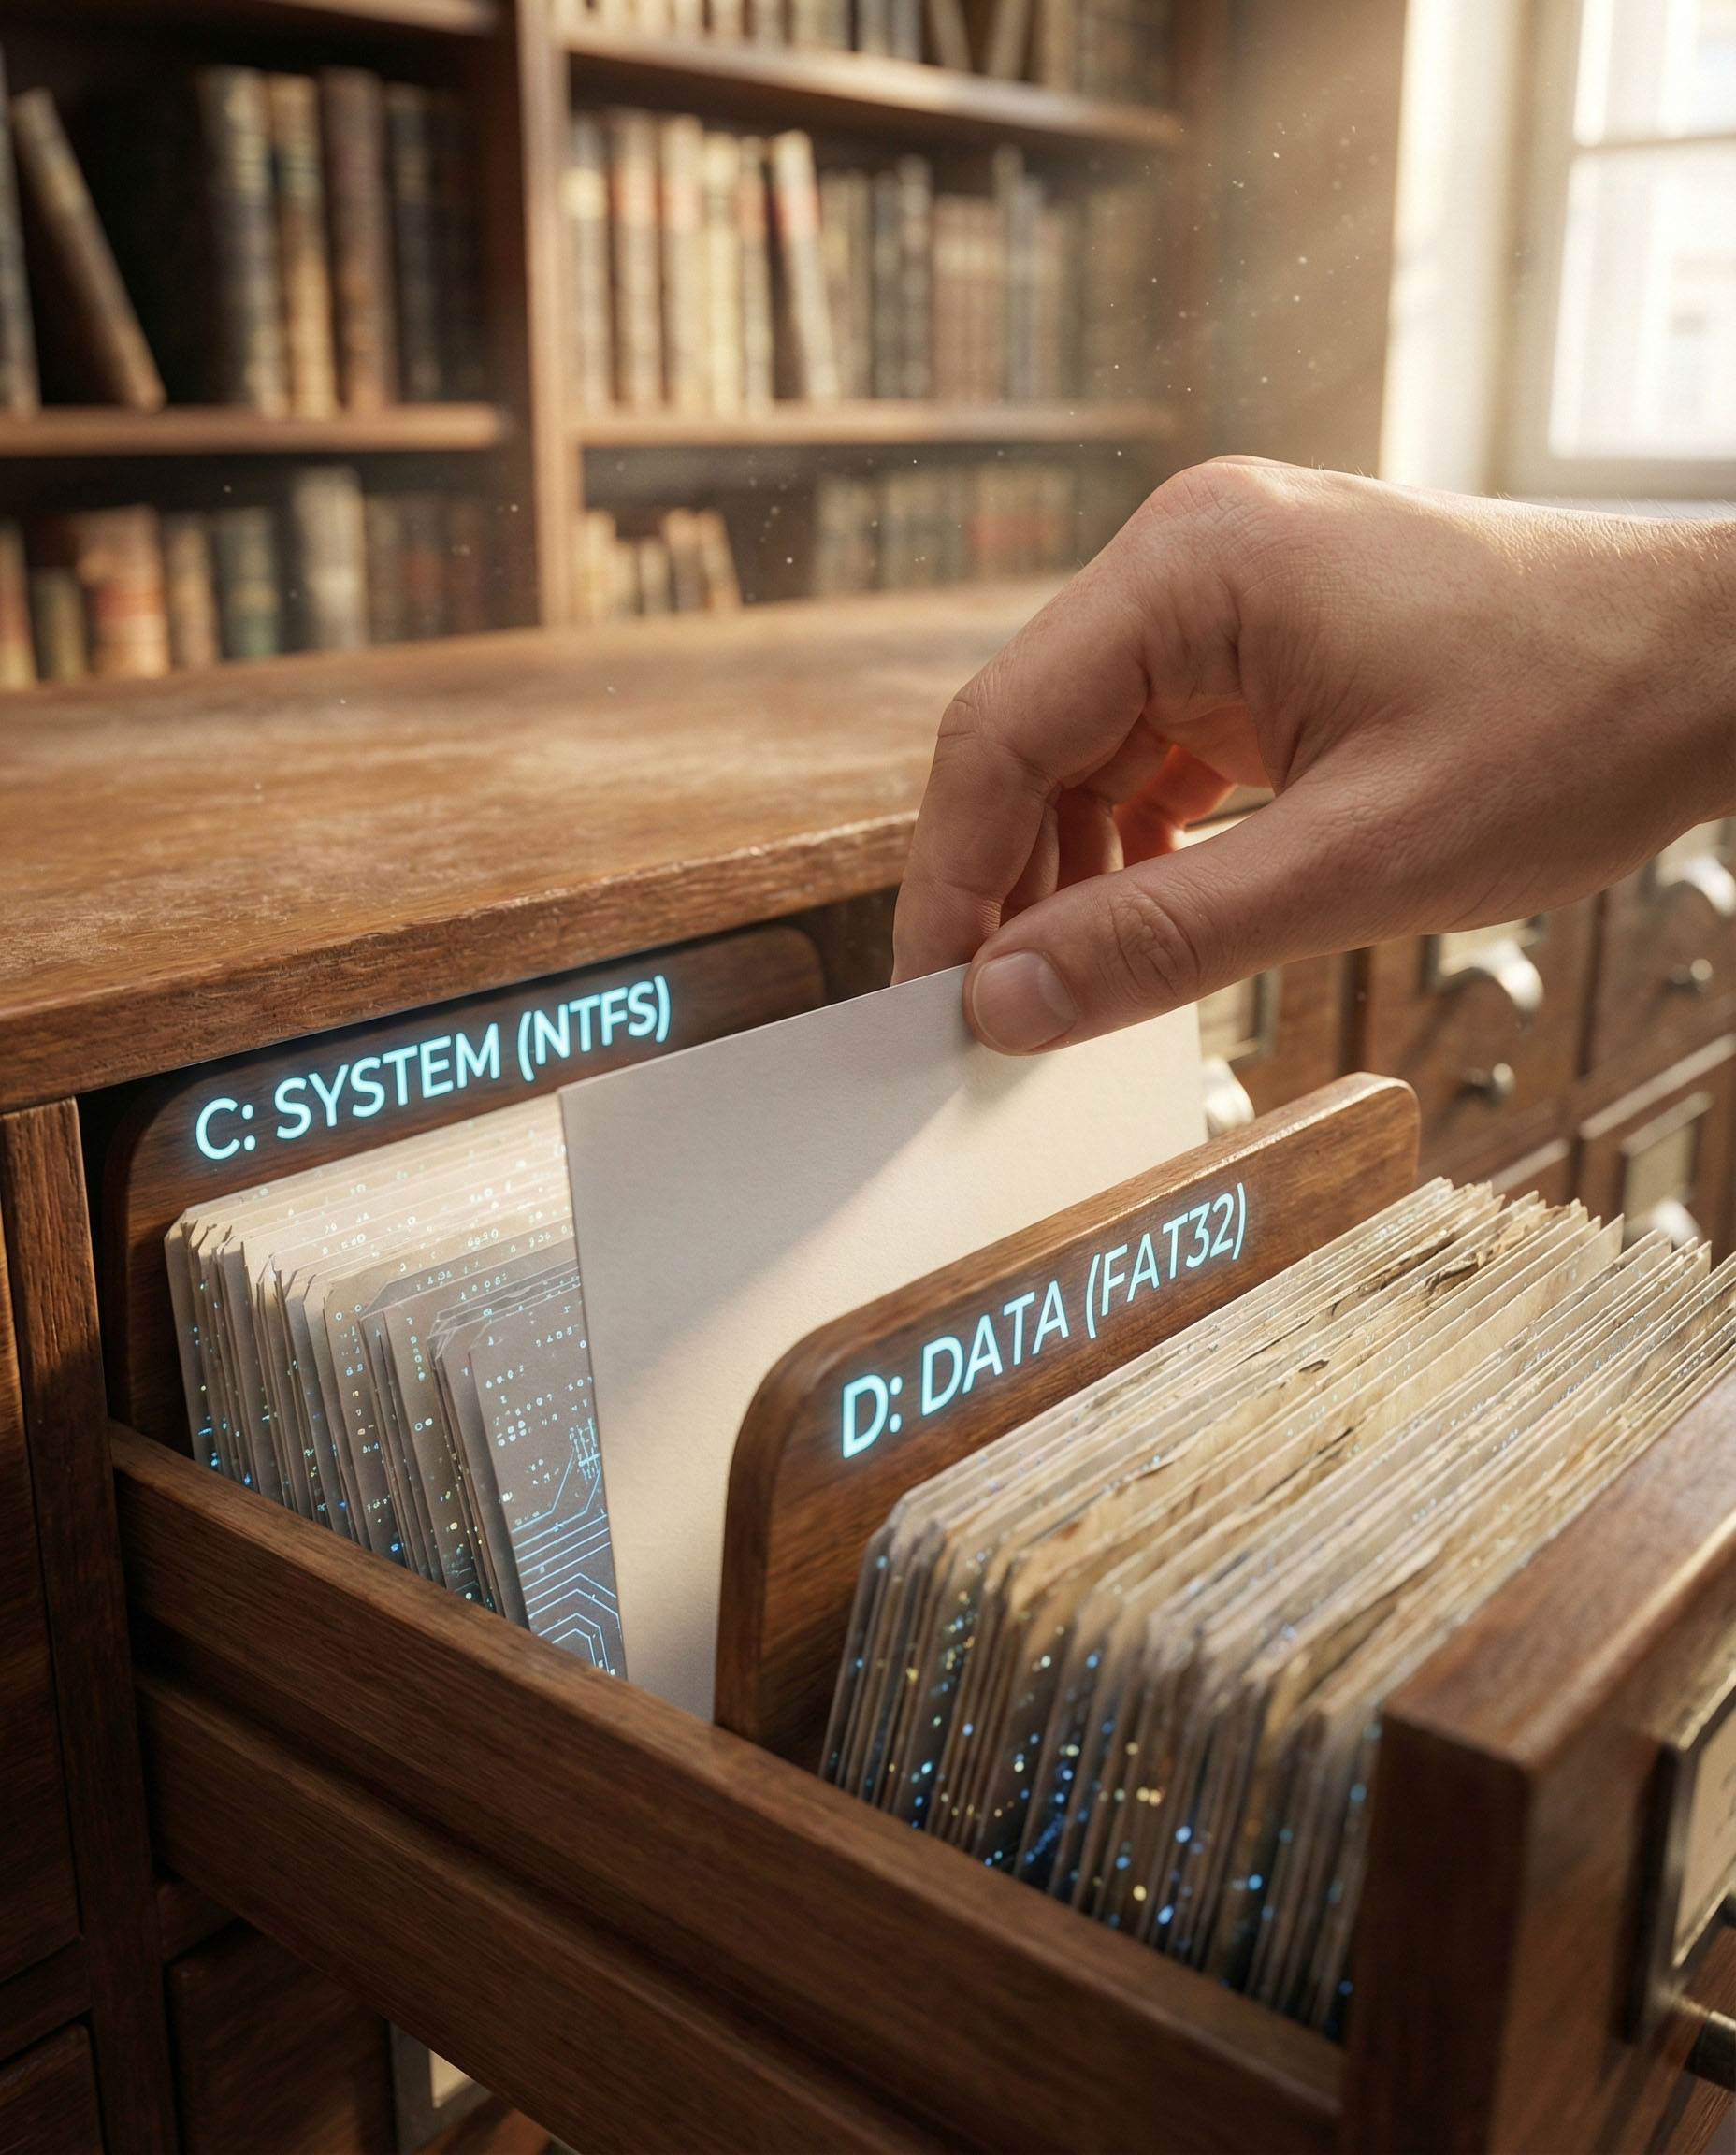
The File System: The Computer’s Librarian
Without a File System, a hard drive would be nothing more than a chaotic mass of bits. The File System (such as NTFS or FAT32) acts as an index.
- Organization: It divides data into pieces called files and gives each one a name and an address.
- Delimitation: It defines exactly where one file ends and the next begins.
- Metadata: It stores information such as creation date, author, and access permissions.
Every File System has different characteristics: NTFS is modern and secure (ideal for Windows), while FAT32 is older but ensures maximum compatibility with other devices like car stereos or older televisions.

Conclusion
Being digitally literate means having total control over your tools. In this lesson, we have learned that the computer is a dynamic environment: we can model it aesthetically, we must monitor it technically through Task Manager, and we must respect hardware and software security procedures.
Mastering these basic concepts is the springboard to more advanced skills. Remember: a well-configured and correctly managed PC lasts longer and is much more pleasant to use.
Practical Exercise
- Personalization: Change your system’s accent color and set a Screen Saver to activate after 5 minutes.
- Task Manager: Open “Task Manager” and identify which process is consuming the most RAM at this moment.
- Screenshot: Use the “Snipping Tool” to photograph just one icon on your desktop and save it in the Pictures folder.
- Hardware: Connect a USB drive and practice the “Safe Removal” procedure instead of just unplugging it.
Congratulations on completing the sixth lesson! Are you ready to move on to the next module to learn more about advanced file and folder management?
INFOGRAPHIC:
